
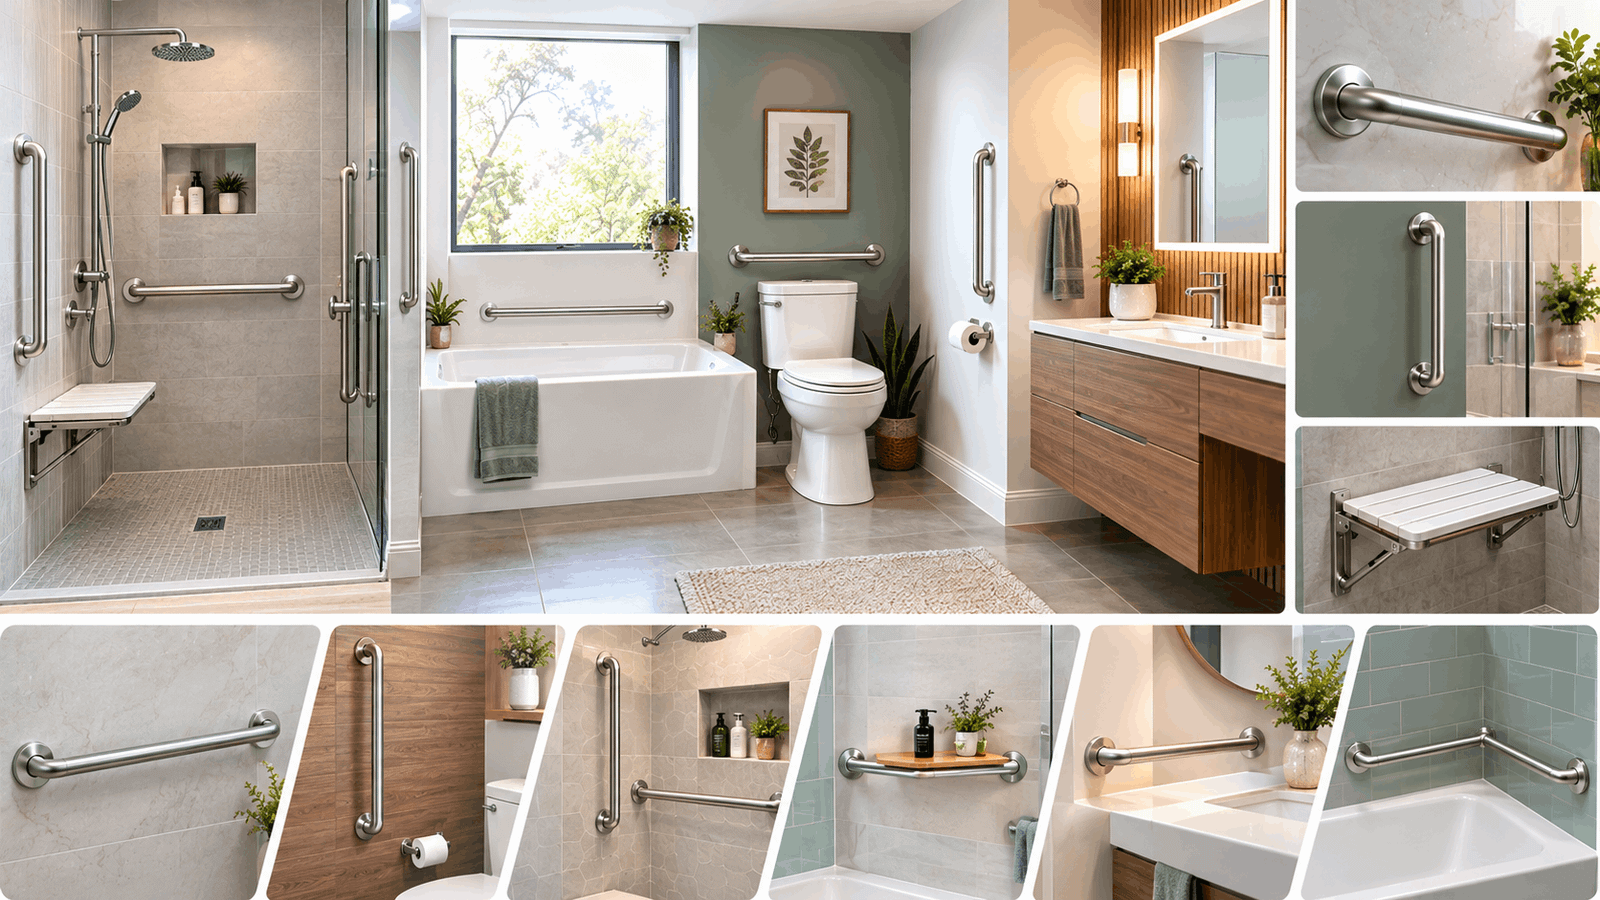
Your mother almost went down reaching for the towel bar again, and now you’re standing in her bathroom trying to figure out where the real support bars should go. This guide gives you the exact spots, heights, and angles—no guesswork, no generic ADA chart copy-paste.
Quick Answer: Place grab bars inside the shower or tub (vertical near the entry, horizontal on the back and side walls), beside the toilet (horizontal, on the strongest side), and at any step or threshold. Mount them 33–36 inches from the floor as a starting point, then adjust to the user’s height and grip.
Table of Contents
What You Need to Know
- Three zones almost always need bars: shower/tub, toilet, and entry/transfer points.
- 33–36 inches from the floor is the ADA starting height—not a fixed rule for a private home.
- Bars must anchor into wall studs or manufacturer-rated anchors, never drywall alone.
- Placement should change based on whether the user relies on a walker, a wheelchair, or is simply unsteady.
- A small bathroom still fits the essentials—you just prioritize fewer, better-placed bars.
Where to Place Grab Bars for an Elderly Bathroom User
The three non-negotiable zones are the shower or tub, the toilet, and any step or threshold the person crosses. Everything else is a bonus. Get these three right, and you’ve covered the moments where falls actually happen—stepping over an edge, sitting down, and standing back up.
Shower and Tub Placement
A vertical bar near the shower or tub entrance gives something to grab while stepping over the edge—this is the single highest-value bar in the room. Add a horizontal bar on the back wall at seated height so the person can steady themselves while sitting down on a shower bench or standing back up. A second horizontal bar on the side wall helps with turning and repositioning mid-shower.
Toilet Placement
Install a horizontal bar on the wall beside the toilet, positioned on the side the person favors for pushing up. If there’s wall space directly behind the toilet, a rear-mounted bar adds extra leverage—though most home bathrooms don’t have room for one.
Entry and Transfer Points
Any raised threshold, a step up into a walk-in tub, or a tight turn near a vanity counts as a transfer point. If the person pauses or reaches for something there out of habit, that’s where a bar belongs—not just in the “official” three zones.
Grab Bar Placement Chart by Zone
Location Bar Orientation Height (from floor) Height (from tub floor) Who It Helps Most Shower/Tub Entry Vertical 36–42 in—Anyone stepping over an edge Shower/tub back wall Horizontal 33–36 in 8–10 in above tub rim Seated bathers, walker users Shower/tub side wall Horizontal 33–36 in 8–10 in above tub rim Repositioning, standing balance Beside the toilet, horizontal 33–36 in. sit-to-stand transfers Behind the toilet (if space allows) Horizontal 33–36 in—Extra leverage, larger users Doorway/step threshold Vertical 36–42 in—Wheelchair and walker users
Save or screenshot this placement chart—it covers every zone in a standard bathroom and works as a quick reference for a contractor or family member doing the install.
How High Should a Grab Bar Be for an Elderly Person?
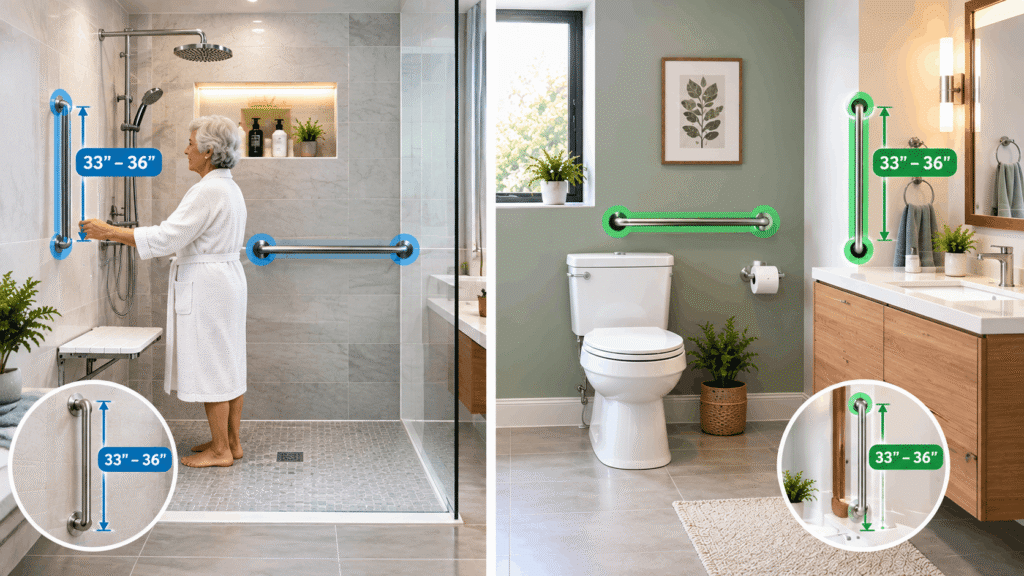
Start at 33–36 inches from the floor, per ADA Section 609—then adjust for the actual person, not the code. ADA.gov number was written for public accessibility compliance, not for a specific 5’2″ grandmother with a shoulder injury. The real test: have the person stand where the bar will go, extend their arm, and mimic a grabbing motion. The bar goes exactly where their hand lands with a slight, comfortable bend in the elbow.
Measuring From the Tub Floor vs. Bathroom Floor
This is the detail most guides skip. Inside a tub or shower, measure the bar’s height from the tub floor, not the bathroom floor—the two surfaces can sit several inches apart. A bar measured correctly from the bathroom floor can end up too low once someone is actually standing inside the tub basin. Professional installers typically add 8–10 inches above the tub rim as the working number for in-tub horizontal bars.
Adjusting Placement for Mobility Level
A walker user needs bars positioned for a forward pull; a wheelchair user needs bars positioned for a lateral transfer; someone who’s simply unsteady needs bars wherever they naturally reach out. These aren’t interchangeable.
- Walker users benefit most from vertical bars at entry points and horizontal bars they can pull toward while walking forward.
- Wheelchair users need bars positioned for side-to-side transfer—usually lower and angled toward the transfer surface (toilet, shower bench, or tub edge).
- Unsteady but ambulatory users (no equipment, just balance concerns) do best with horizontal bars along their natural walking path, at a standard 33–36 inch height.
Grab Bar Placement in a Small Bathroom
In a small bathroom, prioritize one vertical bar at the tub/shower entry and one horizontal bar beside the toilet before anything else. Those two cover the highest-risk moments—stepping over an edge and sitting down—even when wall space is too tight for a full setup.
If there’s no room for a full-length horizontal bar near the shower, a grab bar with an integrated shelf can double as storage and support without adding a second fixture to a cramped wall. That’s a reasonable trade-off in bathrooms under roughly 30 square feet.
Do Grab Bars Need to Go Into Wall Studs?
Yes—grab bars must anchor into wall studs or manufacturer-approved anchors rated for the load, because drywall alone cannot hold an adult’s falling body weight. According to the Americans with Disabilities Act 2010 Standards, Section 609, grab bars and their mounting devices must resist a load of at least 250 pounds.
If a stud doesn’t line up with the ideal spot, don’t force the bar into drywall. Use blocking (added during renovation) or a manufacturer-rated toggle anchor system built specifically for grab bars—standard drywall anchors are not rated for this load.
Common Mistakes to Avoid
The most common placement mistake is copying a generic height number without testing it against the actual user. A few others show up constantly in home safety assessments:
- Mounting into drywall or tile alone instead of a stud or rated anchor
- Placing a single bar and assuming it covers the whole shower or tub
- Skipping the toilet entirely because it “seems less risky” than the shower
- Ignoring mobility equipment—installing a standard layout for someone who uses a wheelchair
- Confusing a towel bar for a grab bar; a towel bar’s mounting hardware is not built to hold body weight.
DIY vs. Professional Grab Bar Installation
#DIYGrabBarInstallation #ProfessionalGrabBarInstallation #BathroomSafety #GrabBarInstallation #BathroomAccessibility
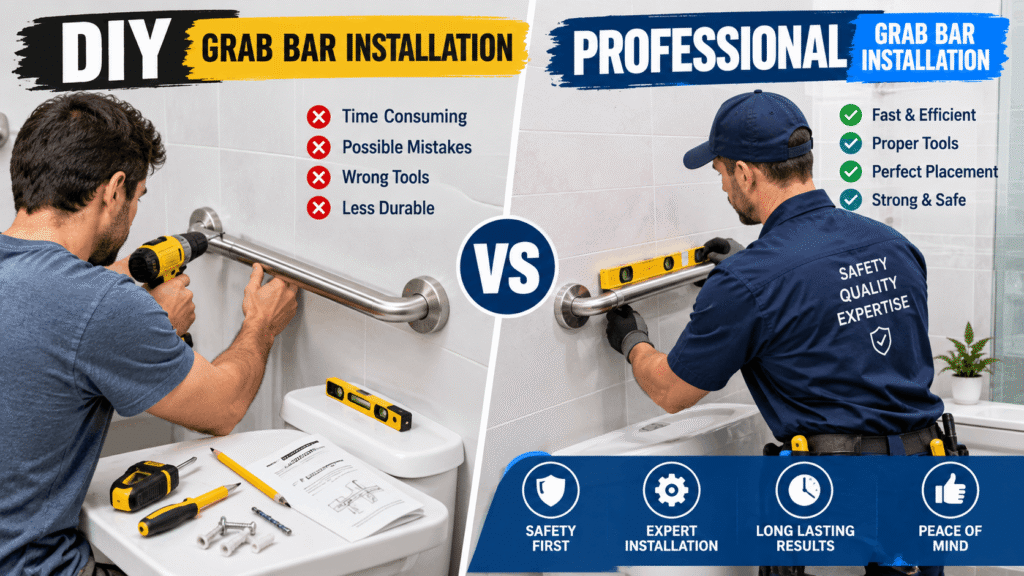
A confident DIYer with a stud finder can install a standard bar safely; a professional or occupational therapist should handle fiberglass surrounds, tile-heavy walls, or custom placement for a wheelchair or walker user. Fiberglass and acrylic tub surrounds flex under pressure and can crack, so mounting hardware there needs to reach the studs behind the surround, not just the surface material—a detail that’s easy to get wrong without experience.
If the person has a specific diagnosis, surgery recovery, or uses mobility equipment, an occupational therapist’s in-home assessment is worth the cost. They watch how the person actually moves through the room, which a height chart can’t capture.
FAQ
How many grab bars does an elderly person need in a bathroom?
Most bathrooms need at least three: one at the shower or tub entry, one inside the shower or tub for standing/sitting support, and one beside the toilet. Larger bathrooms or users with more significant mobility needs may need four or five, including a rear toilet bar or a second shower-wall bar.
Should grab bars be vertical or horizontal?
Vertical bars work best at entry points, where the motion is stepping over an edge. Horizontal bars work best where the motion is sitting, standing, or steadying yourself over a distance, like beside a toilet or along a tub’s back wall. Most bathrooms need both types in different spots.
Can grab bars be installed in a fiberglass shower?
Yes, but the bar must be anchored into the wall studs behind the fiberglass surround using manufacturer-approved hardware, not into the fiberglass surface alone. Fiberglass flexes and can crack under load, so reaching solid framing behind it is essential for a safe installation.
What is the standard grab bar height for elderly users?
33–36 inches from the floor is the ADA starting point, but the right height depends on the individual’s stature and reach. The most reliable method is having the person mimic a grabbing motion at the intended spot and mounting the bar where their hand naturally lands.
What’s a good way to check placement before drilling?
Hold a bar or a length of wood at the proposed spot and have the person go through the actual motion—stepping in, sitting down, or standing—while reaching for it. If it doesn’t feel natural in that test, it won’t feel natural after installation either.
Do grab bars need professional installation?
Not always. A standard bar on drywall over an accessible stud is a manageable DIY project with the right hardware. Fiberglass surrounds, tiled walls without accessible studs, or placement tailored to a wheelchair or walker user are the cases where a professional or occupational therapist adds real value.
What to Do Next
Once placement is set, the next decision is bar length and diameter—see the full Grab Bar Dimensions guide for sizing by location. If you want the full ADA height reference in one chart, the Standard Grab Bar Height guide breaks it down further. And if wall space is the real constraint, the Grab Bar With Shelf guide covers a space-saving option worth considering before you commit to a layout.